Beeswax Wrap Maintenance Protocols
Understanding Beeswax Wraps and Their Benefits
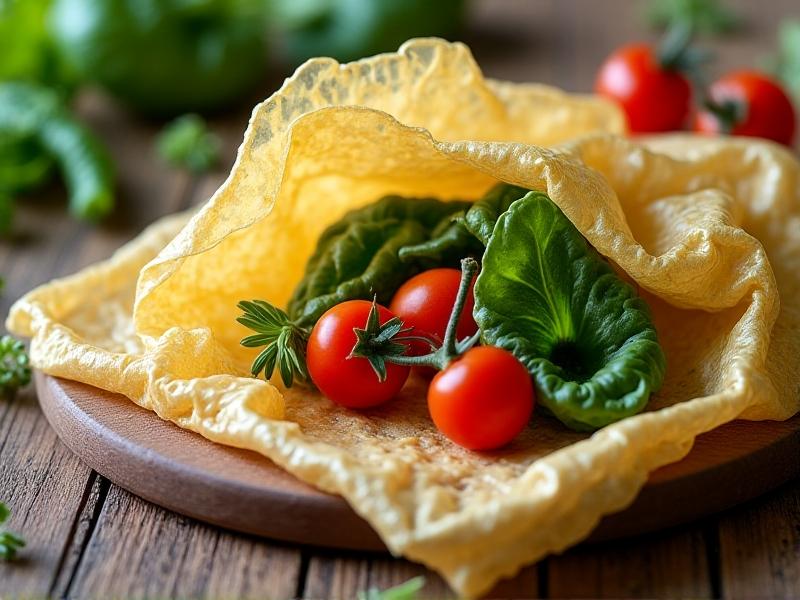
Beeswax wraps are reusable, eco-friendly alternatives to plastic wrap, crafted from organic cotton infused with beeswax, resin, and jojoba oil. Their malleable texture allows them to adhere to surfaces when warmed by hands, creating a seal that preserves food freshness. Unlike single-use plastics, these wraps reduce waste and exposure to harmful chemicals. Their natural antibacterial properties, thanks to beeswax and jojoba oil, make them ideal for wrapping cheeses, bread, fruits, and vegetables. Proper maintenance ensures they remain effective and durable for up to a year.
Cleaning Beeswax Wraps: Best Practices
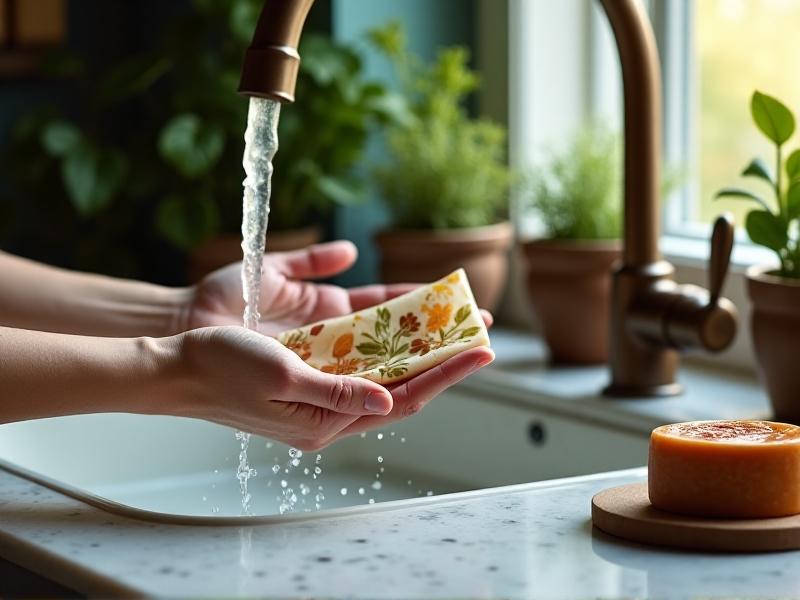
To clean beeswax wraps, rinse them under cool water with a mild, natural soap. Avoid hot water, which can melt the wax coating. Gently scrub with a soft cloth or sponge to remove residue. For disinfecting, use a diluted white vinegar solution. Never machine-wash or soak wraps, as this degrades the wax. Pat dry with a towel and air-dry completely before storing. Regular cleaning prevents odor buildup and maintains the wrap’s grip.
Revitalizing Wraps: Reapplying Beeswax
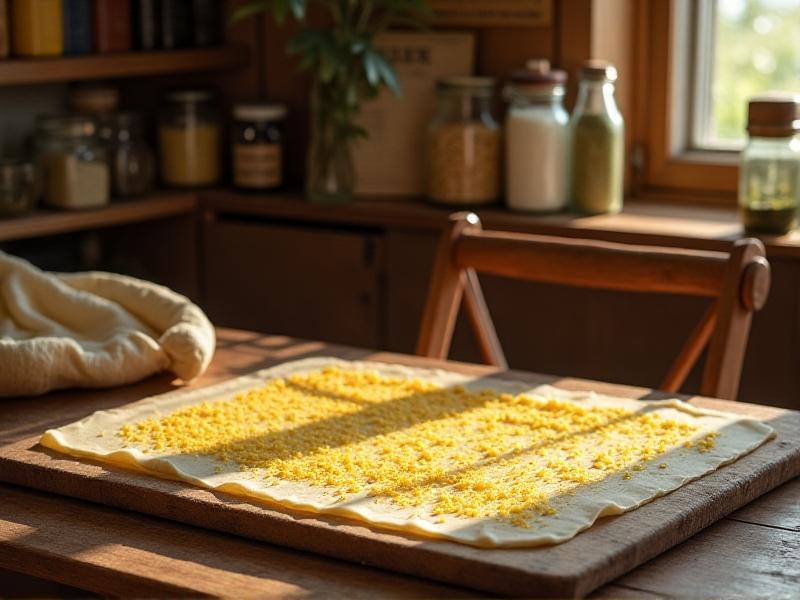
Over time, wraps lose their stickiness as the wax layer thins. To rejuvenate them, grate organic beeswax evenly over the fabric. Place the wrap on a parchment-lined baking sheet and melt the wax in a 200°F oven for 4-5 minutes. Spread the melted wax with a brush for even coating. Let it cool before use. This process extends a wrap’s lifespan by 6–12 months, making it a cost-effective maintenance step.
Proper Storage for Longevity
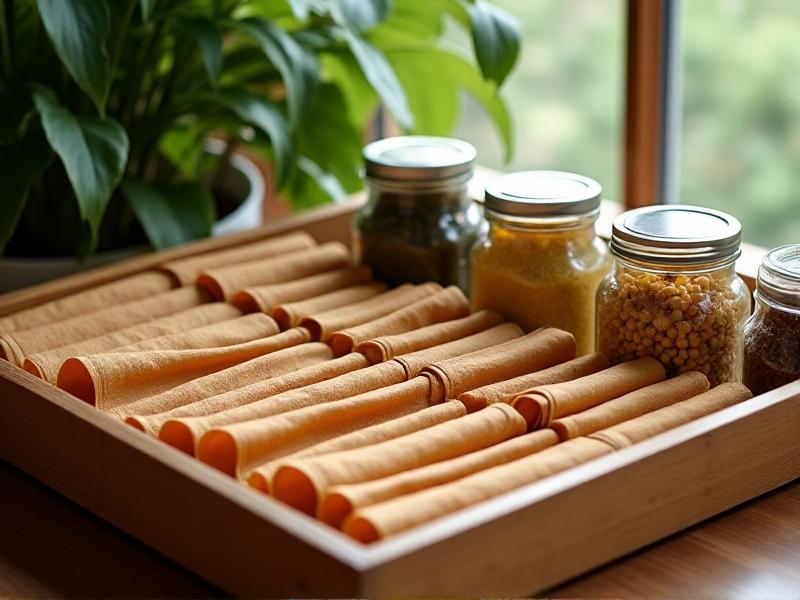
Store beeswax wraps flat or rolled in a drawer away from heat sources. Avoid folding, as creases can crack the wax. Use a dedicated container or cloth bag to protect them from dust. Keep them in a cool, dry place to prevent premature melting or sticking. Proper storage preserves their shape and adhesive quality.
When to Retire Your Beeswax Wrap
Replace wraps when the fabric becomes frayed, the wax no longer adheres, or odors persist despite cleaning. Compost worn wraps by cutting them into strips and adding them to a compost bin. The organic materials break down naturally, completing their eco-friendly lifecycle.
Why Beeswax Wraps Outshine Plastic
Beeswax wraps reduce plastic pollution and carbon footprints. They’re biodegradable, chemical-free, and consume fewer resources to produce than plastic wraps. By maintaining them properly, users support circular economies and minimize landfill waste, aligning with global sustainability goals.
Creative Uses for Old Wraps
Upcycle retired wraps into fire starters by coating strips in extra wax or use them as drawer liners. Their durable fabric and residual wax make them versatile for DIY projects, ensuring no part goes to waste.
